Toon Boom Fundamentals - The Basics Part 2
This is the second in a series on the fundamentals of animation and using Toon Boom Studio. If you have not previously read Toon Boom Fundamentals - The Basics Part 1 you can do that now or after you read this installment. In part 2 you will be introduced to some fundamental concepts of animating and animation production. You will learn about the major work areas in Toon Boom Studio and get a better understanding for why they exist and why they are separated. You will also get some very enlightening insight into the make-up of the animation stand and how analogous Toon Boom is to photographic animation production. I've discussed this previously in other articles but I expect some "light bulbs" of creativity will turn on for many people after you read this latest presentation. We are covering a lot of material in part 2 so be sure to take advantage of the navigation features of the slide shows and flip back and forth as you read and follow the material presented.
If you followed the presentation in that first slide show, you should now begin to appreciate the different purposes of Drawing View (your drawing board) and Camera View (your multi-plane animation camera stand). Those concepts will take on even greater significance as you read through this next slide show presentation. Even if you consider yourself a Toon Boom veteran, there should be some "slap your forehead" moments of understanding coming your way.
I hope that by following that slide show you are beginning to understand the direct analogy between how Toon Boom works and how real world photographic animation used to be done before computers replaced the physical art work and animation camera stand. You should now be making the connections between physical cells and "cells" created in Toon Boom. And you should be beginning to understand that key framing is just controlling how a cell is displayed (photographed) and it doesn't alter the cell itself but rather just changes how the cell is positioned and oriented with respect to the "camera". Key framing is just Toon Boom's method of adjusting and setting specific knobs and dials for controlling it's own multi-plane animation stand. When you are key frame animating, you are making cell display adjustments to be used when a specific frame of your "film" is being "photographed". Anyone slapping their forehead yet?
There have been plenty of concepts introduced in the second installment of Toon Boom Fundamentals. You should now have a new level of appreciation for the purpose of Drawing View and the totally different purpose of Camera View. You should also begin to have a whole new point of reference when you are thinking about the use of key framing when you are putting together a movie. We will continue to explore and expand on these and other concepts in the next installment, part 3 .
You might want to go back and re-read some of the prior articles in the Learning Track listing. Armed with the new ideas you just got from this article, they may be even more informative than when you originally read them.
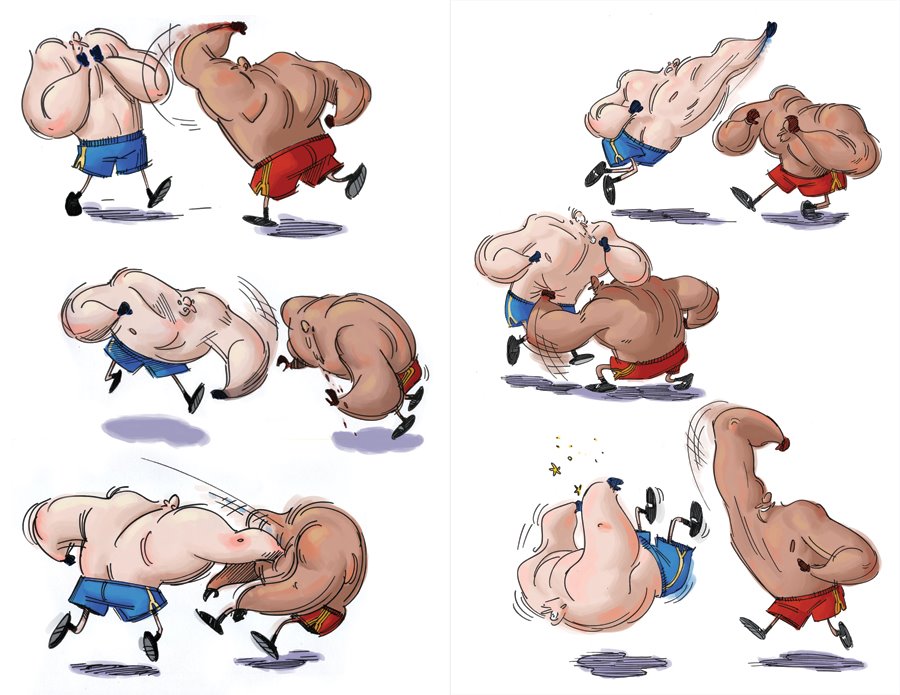
For those interested, the two background prop drawings of the tree and the log were created in SketchBook Pro 2010 . In fact the drawing of Myron was also created in SketchBook Pro. It is a great complementary drawing program for cartoon making in Toon Boom Studio. I hope you enjoyed this article and learned some new things too.
If you followed the presentation in that first slide show, you should now begin to appreciate the different purposes of Drawing View (your drawing board) and Camera View (your multi-plane animation camera stand). Those concepts will take on even greater significance as you read through this next slide show presentation. Even if you consider yourself a Toon Boom veteran, there should be some "slap your forehead" moments of understanding coming your way.
I hope that by following that slide show you are beginning to understand the direct analogy between how Toon Boom works and how real world photographic animation used to be done before computers replaced the physical art work and animation camera stand. You should now be making the connections between physical cells and "cells" created in Toon Boom. And you should be beginning to understand that key framing is just controlling how a cell is displayed (photographed) and it doesn't alter the cell itself but rather just changes how the cell is positioned and oriented with respect to the "camera". Key framing is just Toon Boom's method of adjusting and setting specific knobs and dials for controlling it's own multi-plane animation stand. When you are key frame animating, you are making cell display adjustments to be used when a specific frame of your "film" is being "photographed". Anyone slapping their forehead yet?
There have been plenty of concepts introduced in the second installment of Toon Boom Fundamentals. You should now have a new level of appreciation for the purpose of Drawing View and the totally different purpose of Camera View. You should also begin to have a whole new point of reference when you are thinking about the use of key framing when you are putting together a movie. We will continue to explore and expand on these and other concepts in the next installment, part 3 .
You might want to go back and re-read some of the prior articles in the Learning Track listing. Armed with the new ideas you just got from this article, they may be even more informative than when you originally read them.
For those interested, the two background prop drawings of the tree and the log were created in SketchBook Pro 2010 . In fact the drawing of Myron was also created in SketchBook Pro. It is a great complementary drawing program for cartoon making in Toon Boom Studio. I hope you enjoyed this article and learned some new things too.
Labels: Fundamentals, Key Framed Animation, Tutorial